In an era dominated by streaming services and cloud storage, the art of burning a CD might seem like a relic from the past. However, there are still many situations where creating your own compact disc is not only useful but also essential. Whether you want to compile a mixtape of your favorite songs, archive important data, or create a customized gift, knowing how to burn a disc is a valuable skill to have.
In this comprehensive guide, we will take you through the step-by-step process of burning a disc, from selecting the right type of disc to choosing the best software for the job. Whether you’re a music enthusiast looking to create a personalized playlist or someone in need of a reliable backup solution, this article will equip you with the knowledge and skills to successfully burn your own CDs. So, let’s dive in and discover how to master this timeless technique in the digital age.
Crafting a CD: The Complete Guide to Disc Recording
Embarking on the journey of burning a CD necessitates a blend of hardware and software, along with a sprinkle of creativity and patience. Let’s delve into the intricacies of this process and unveil the secrets to successfully crafting your own.
Essential Tools for Creation
To kickstart this digital alchemy, two crucial components are required:
- CD/DVD Recording Drive (a.k.a. ‘Burner’): This is the magical wand of the process. Modern laptops might not come with this tool built-in, but fear not. A plethora of external burners are readily available in the market, boasting seamless integration with your laptop via USB ports. Many of these devices are designed to be user-friendly, offering plug-and-play functionality, ensuring a hassle-free installation process;
- Blank CDs: Think of these as your canvas. To ensure compatibility and a smooth recording experience, it is highly recommended to opt for CD-R (CD recordable) discs. These discs have garnered widespread support across various hardware platforms, ensuring your recorded content can be accessed and enjoyed on multiple devices.
Unraveling the Mystique of CD Burning
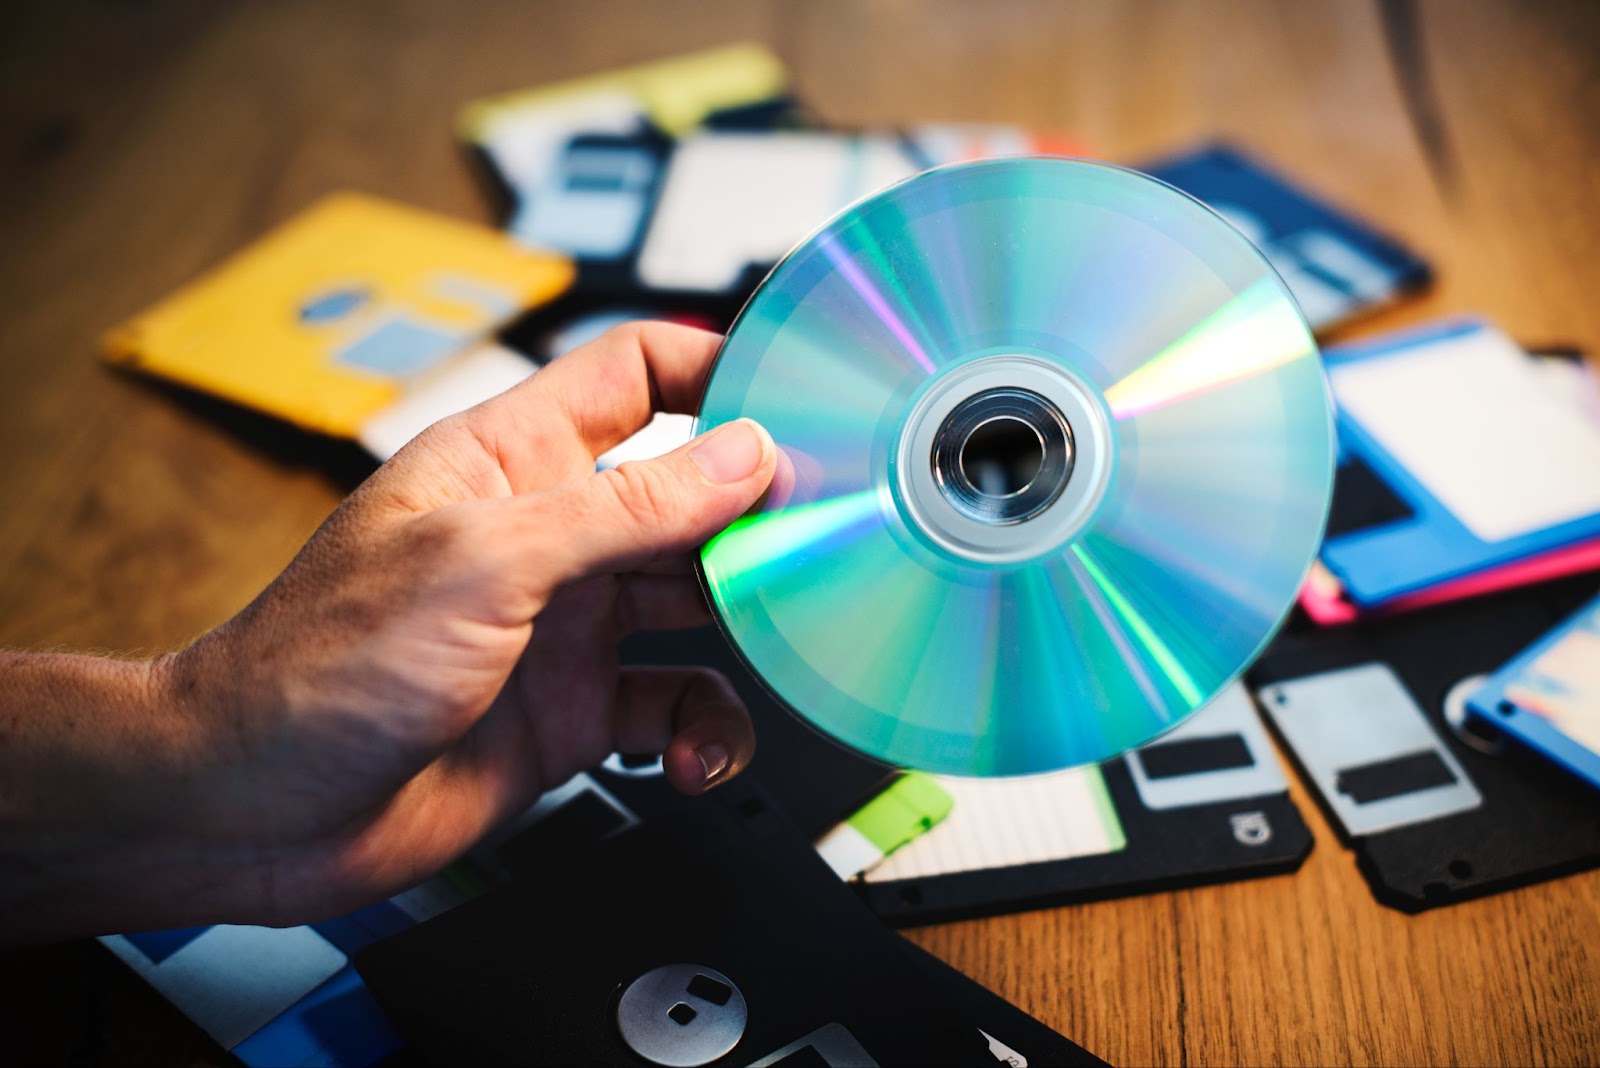
The term “burning” a disc might sound like an arcane art, but it’s essentially the process of etching data onto a CD-R using a precise and powerful laser.
- The Process Unveiled: As the CD spins within the burner, the laser meticulously creates data pits on the surface of a plastic layer encapsulated in the disc. This process also involves altering the properties of a dye layer, resulting in the permanent storage of your data;
- Choosing Your Canvas: When it comes to selecting a type of CD, you have two main options:
- CD-Recordable (CD-R): This type of disc is like a once-in-a-lifetime adventure; you can write data onto it once, and the data becomes a permanent part of your discography;
- CD-Rewritable (CD-RW): If you prefer a canvas that allows for experimentation and revision, this is your go-to option. CD-RW discs offer the flexibility to write and rewrite data multiple times, providing a reusable space for your creative endeavors.
Exploring the Distinct Processes of CD Copying and Burning
Burning a CD: A Journey of Creation
The term “burning” a CD is synonymous with the action of inscribing data onto a writable CD. The process involves encoding digital information onto the disc through the use of a laser, ultimately culminating in a usable CD.
- Equipment Needed: A CD burner and writable CD are essential tools for this task;
- Applications: Common uses include creating music CDs from a digital collection, backing up important files, or generating installation discs for software;
- Variety of Formats: CDs can be burned in various formats depending on the intended use, such as audio CD, data CD, or video CD.
CD Copying: Replicating Digital Information
On the other hand, CD copying encompasses the act of creating an exact replica of an existing CD. This process entails reading the data from the original CD and simultaneously writing it onto a blank disc.
- Dual Drives Advantage: Possessing two CD/DVD drives expedites the process, enabling “on the fly” copying where reading and writing occur concurrently;
- Accuracy: The copied CD should be an identical match to the original, preserving the integrity of the data;
- Common Uses: CD copying is often utilized for creating backups, distributing software, or sharing content in physical form.
Navigating the Legal Landscape of CD Burning
Understanding Copyright Laws
Engaging in CD burning activities treads a fine line in terms of legality. Generally, copyright laws are in place to prevent the unauthorized distribution of copyrighted material, which includes music CDs.
- When is it Legal?: It is crucial to obtain permission from the copyright owner, typically the artist or record label, before distributing copies;
- Personal Use Exception: Creating copies for personal use falls within legal boundaries, allowing individuals to convert their CDs for use on various devices.
Delineating Personal Use
It is imperative to comprehend the scope of “personal use” to ensure compliance with copyright laws. This provision allows for the legal burning of CDs, provided they are for the individual’s exclusive use.
- What Qualifies: Transferring music from a CD to a portable player for personal enjoyment aligns with this exception;
- Avoiding Pitfalls: It is a common misconception that distributing burned CDs to close acquaintances is permissible. However, this practice contravenes copyright laws and should be avoided to maintain legal integrity.
Creating Your Own CDs: A Comprehensive Guide
Burning a CD is a versatile and convenient way to store and share data or music. Whether you’re a Windows enthusiast or a Mac aficionado, the process can be tailored to your specific operating system. In this detailed guide, we’ll walk you through the steps for both Windows and Mac, offering valuable insights and tips along the way.
For Windows Users:
- Commence by opening Windows Media Player: Initiate the process by launching Windows Media Player, a commonly located application on your computer;
- Navigate to the Burn Tab: To embark on the journey of CD burning, navigate to the “Burn” tab situated within the Player Library;
- Determine the Burn Type: To specify the nature of your CD creation, tap on the “Burn options” button. Subsequently, choose between “Audio CD” or “Data CD,” depending on your specific requirements;
- Insert a Blank Disc: Insert an unrecorded CD or DVD into the CD/DVD burner of your computer. If you possess multiple drives, carefully select the desired one for this task;
- Compose Your Burn List: Thoroughly peruse your Player Library to locate the desired files or music tracks for inclusion on the CD. Skillfully drag and drop these selections into the list pane, which is conveniently positioned on the right side of the Player Library, thereby crafting your personalized burn list;
- Commence the Burning Process: When your meticulously curated burn list is ready, proceed to initiate the CD burning process by clicking the “Start burn” option.
Pro Tips for Windows Users:
- Ensure your blank CD has enough storage for the files you want to burn;
- For an audio CD, consider the total length of the music tracks to ensure they fit within the CD’s capacity;
- Double-check the format compatibility of your CD with your CD player or recipient’s device.
For Devotees of Mac Computing:
- Introduce a Blank Disc: Commence the process by gently inserting a pristine CD into the optical drive of your Mac. If you receive a prompt, opt for “Open Finder.” You also have the choice to designate Finder as the default option for all forthcoming blank discs;
- Prepare Your Data: Initiate the next step by executing a double-click on the icon representing the inserted disc, elegantly displayed on your desktop. This action gracefully unveils the disc window, offering you a canvas for your data masterpiece. You may now effortlessly transfer and release the files and folders you intend to immortalize onto this digital canvas. It’s essential to recognize that this operation gracefully generates aliases for the files, preserving the integrity of the originals without a hint of relocation or deletion;
- Organize and Bestow Names: Embrace your inner curator as you meticulously arrange and christen these digital artifacts within the confines of the disc window. Keep in mind that, post-incineration, these items will remain etched in digital stone, their names and positions eternally preserved;
- Commence the Conflagration: Proceed to the illustrious Finder menu, where you shall select the option “File” followed by the hallowed “Burn [disc].” Following this ritual, yield to the on-screen instructions, thus inaugurating the sacred process of disc combustion.
Pro Tips for Mac Users:
- Take advantage of the disc window to organize files effectively before burning;
- Consider using descriptive file names for better organization;
- Verify the disc’s remaining space to ensure all files fit comfortably.
Whether you’re on Windows or Mac, burning a CD is a straightforward process with the right guidance. Follow these steps and tips, and you’ll be creating your custom CDs effortlessly. Enjoy the convenience and flexibility of having your data or favorite music tracks at your fingertips!
Conclusion
In conclusion, burning a CD is a process that blends technology with creativity, providing a tangible result that can be shared and enjoyed. Whether you are preserving precious memories, sharing a musical masterpiece, or distributing vital information, the process of CD burning is a valuable skill that stands the test of time. Embrace the journey, select your tools wisely, and enjoy the satisfaction of creating something truly unique and personal.